本文将讲解手机通用摇杆控制组件的使用
我们使用Assets中免费的组件:Joystick Pack来实现我们精灵的基本移动,接下来我们将详细讲解使用方法
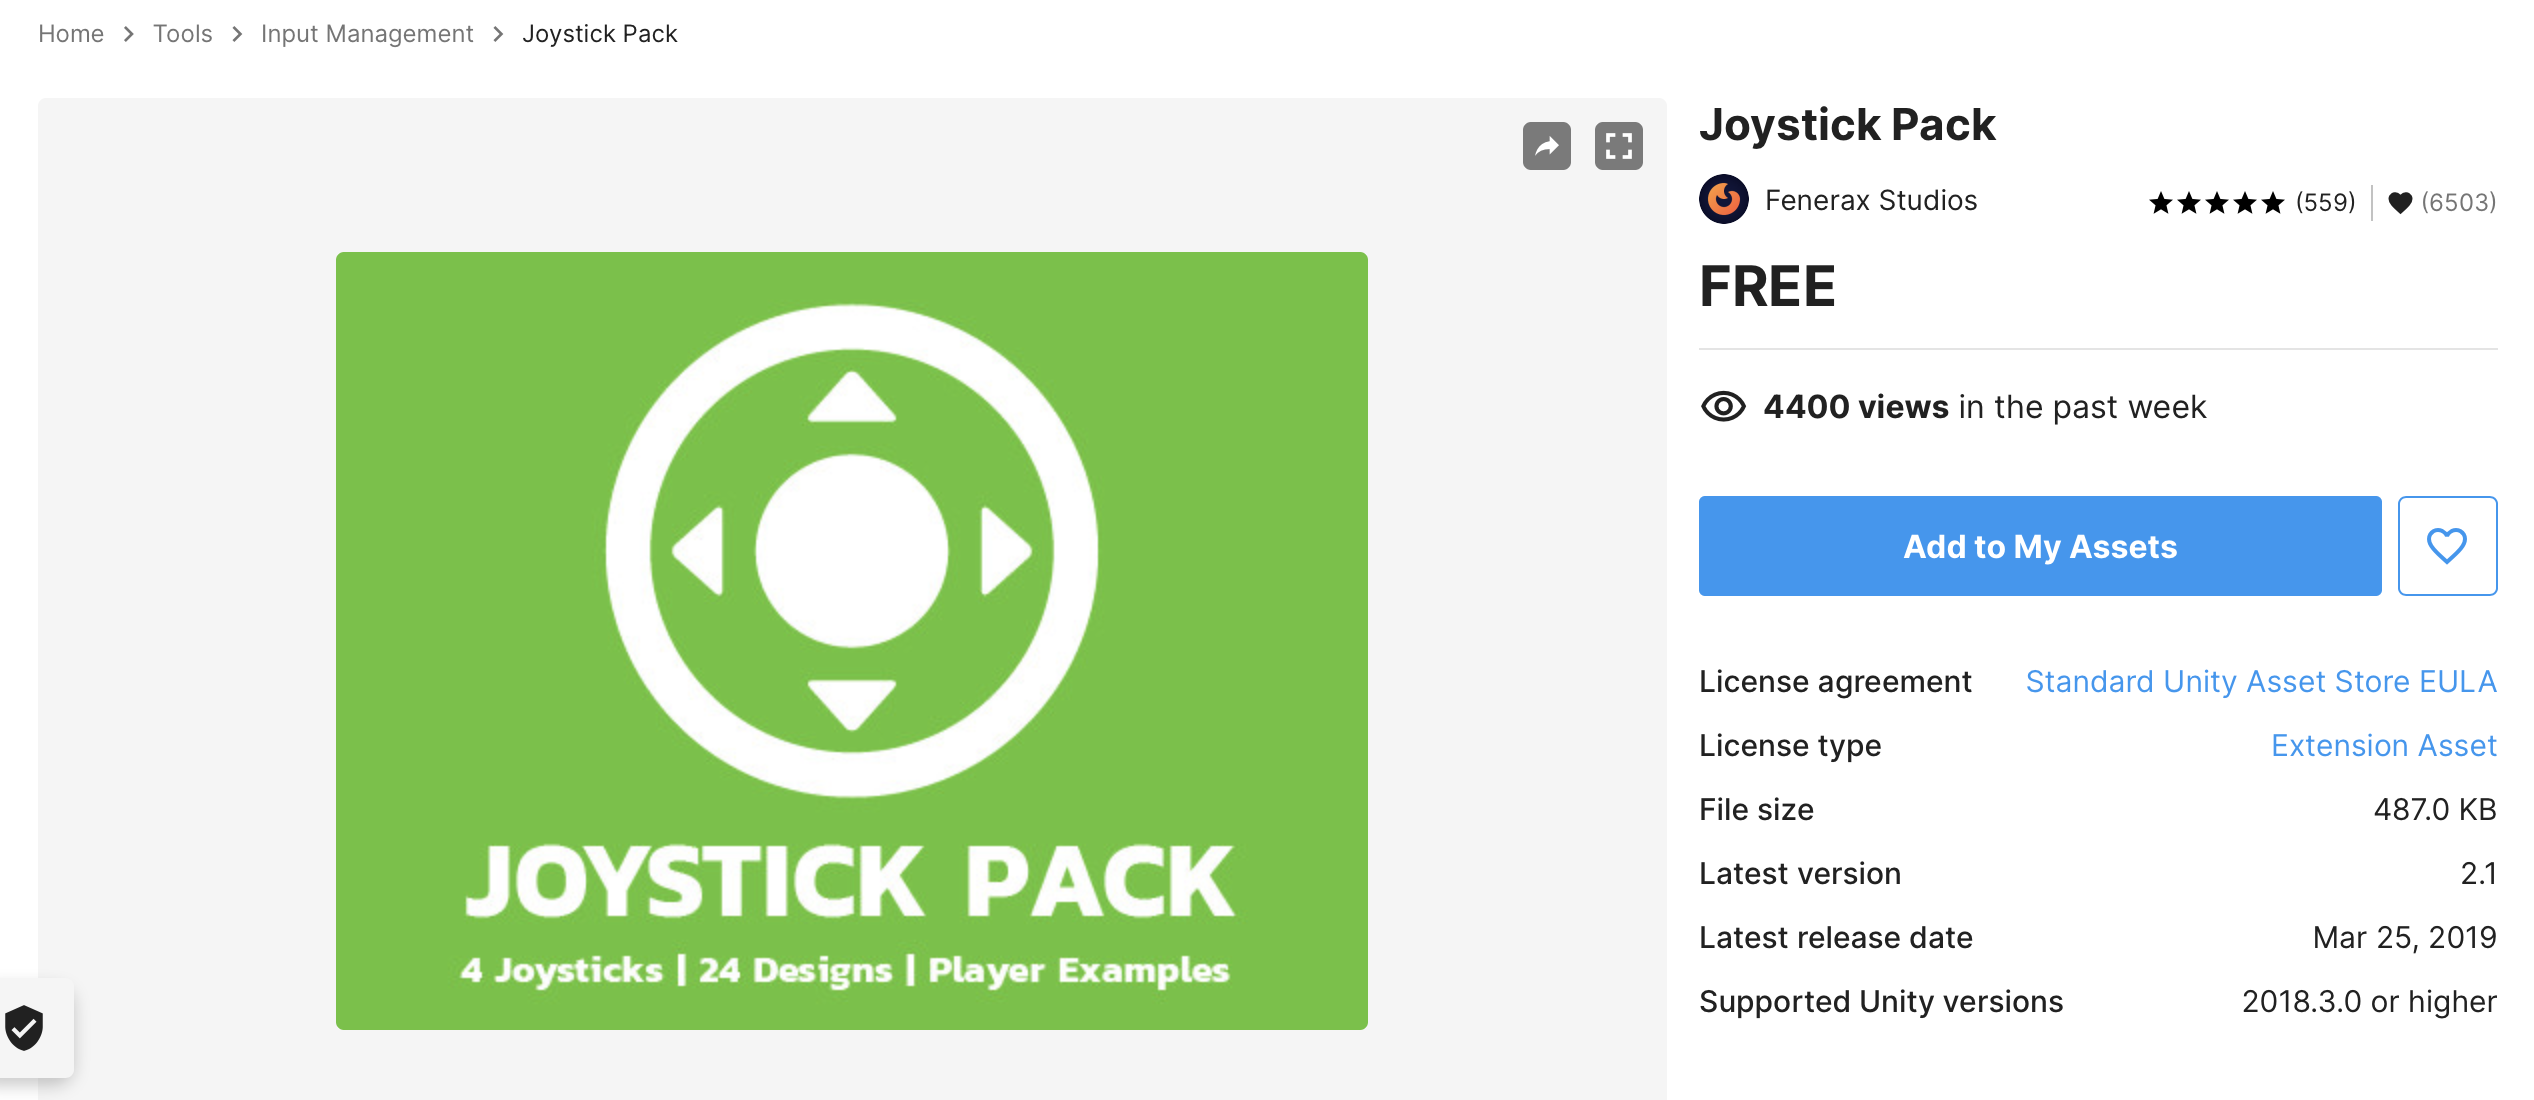
1、导入组件
这一步比较简单,不做过多解释

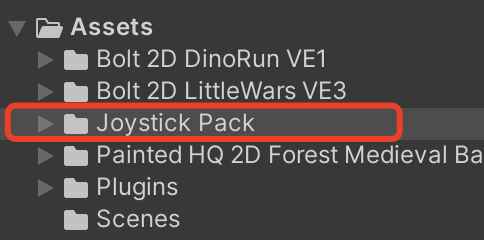
导入成功后,我们便可以在项目资源栏中看到如红框中的资源
2、创建控制界面
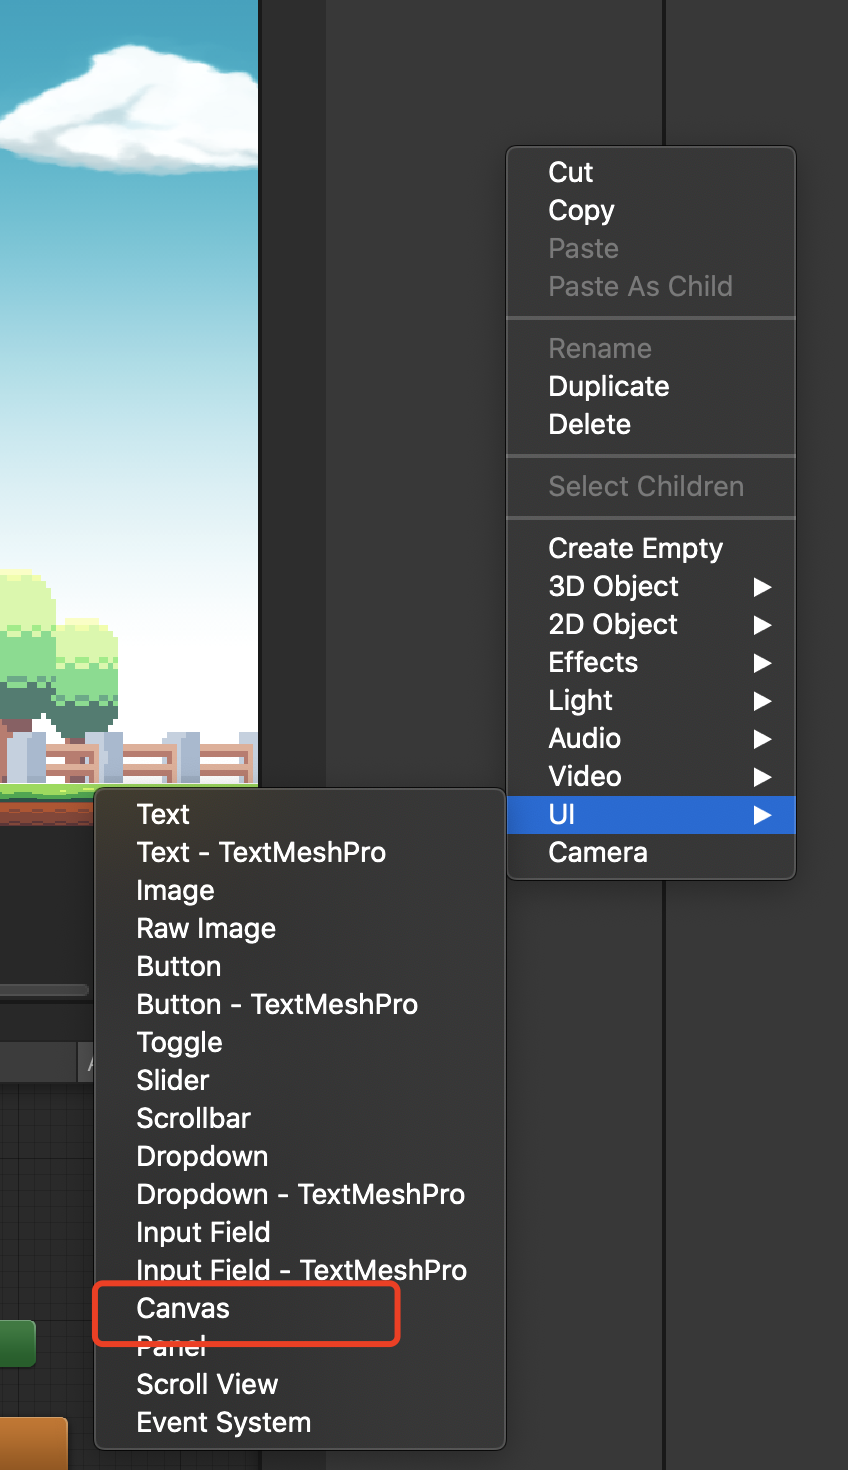
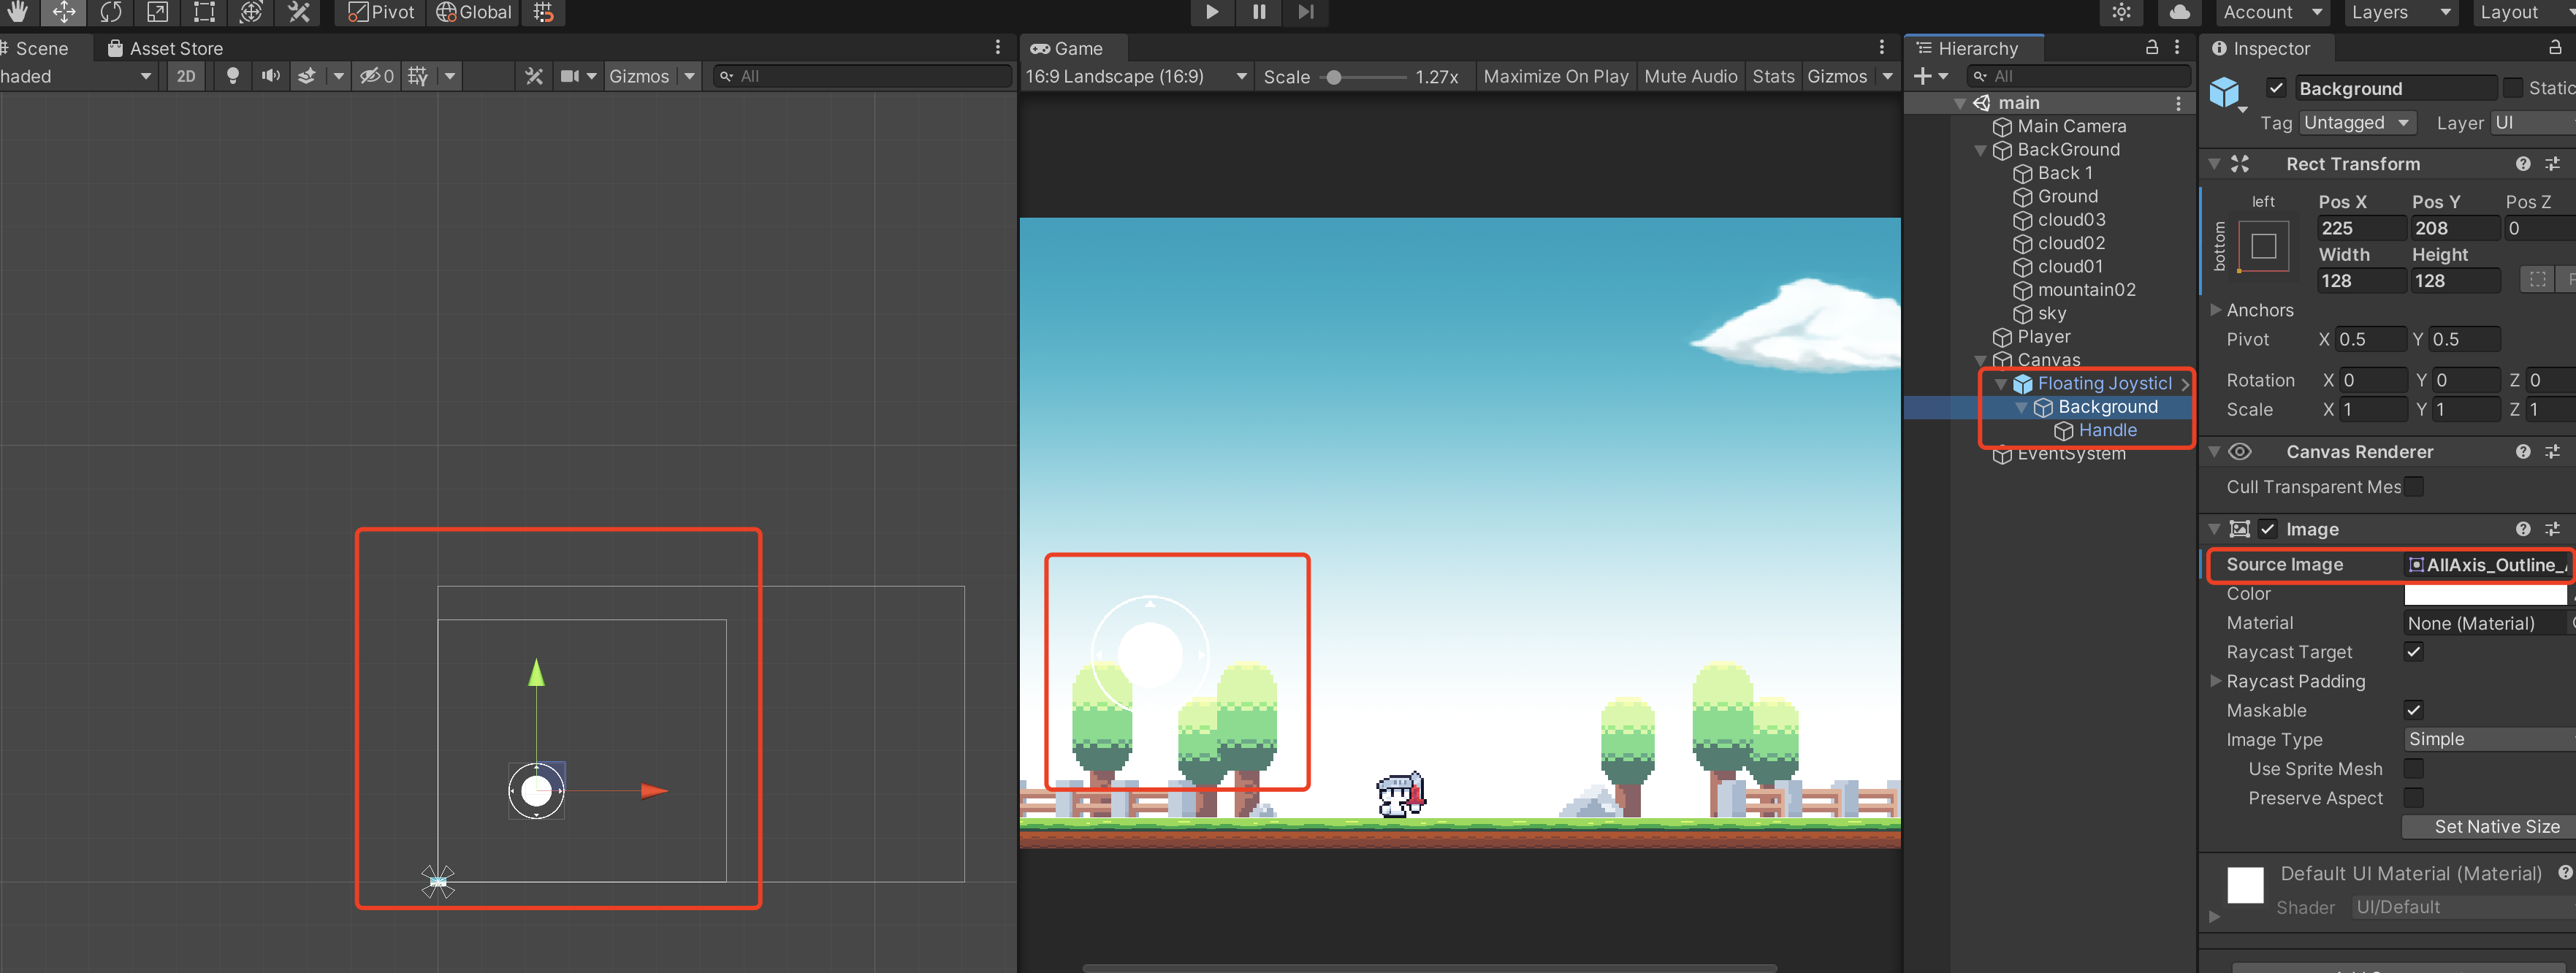
直接把Floating Joystick 拖过去就好
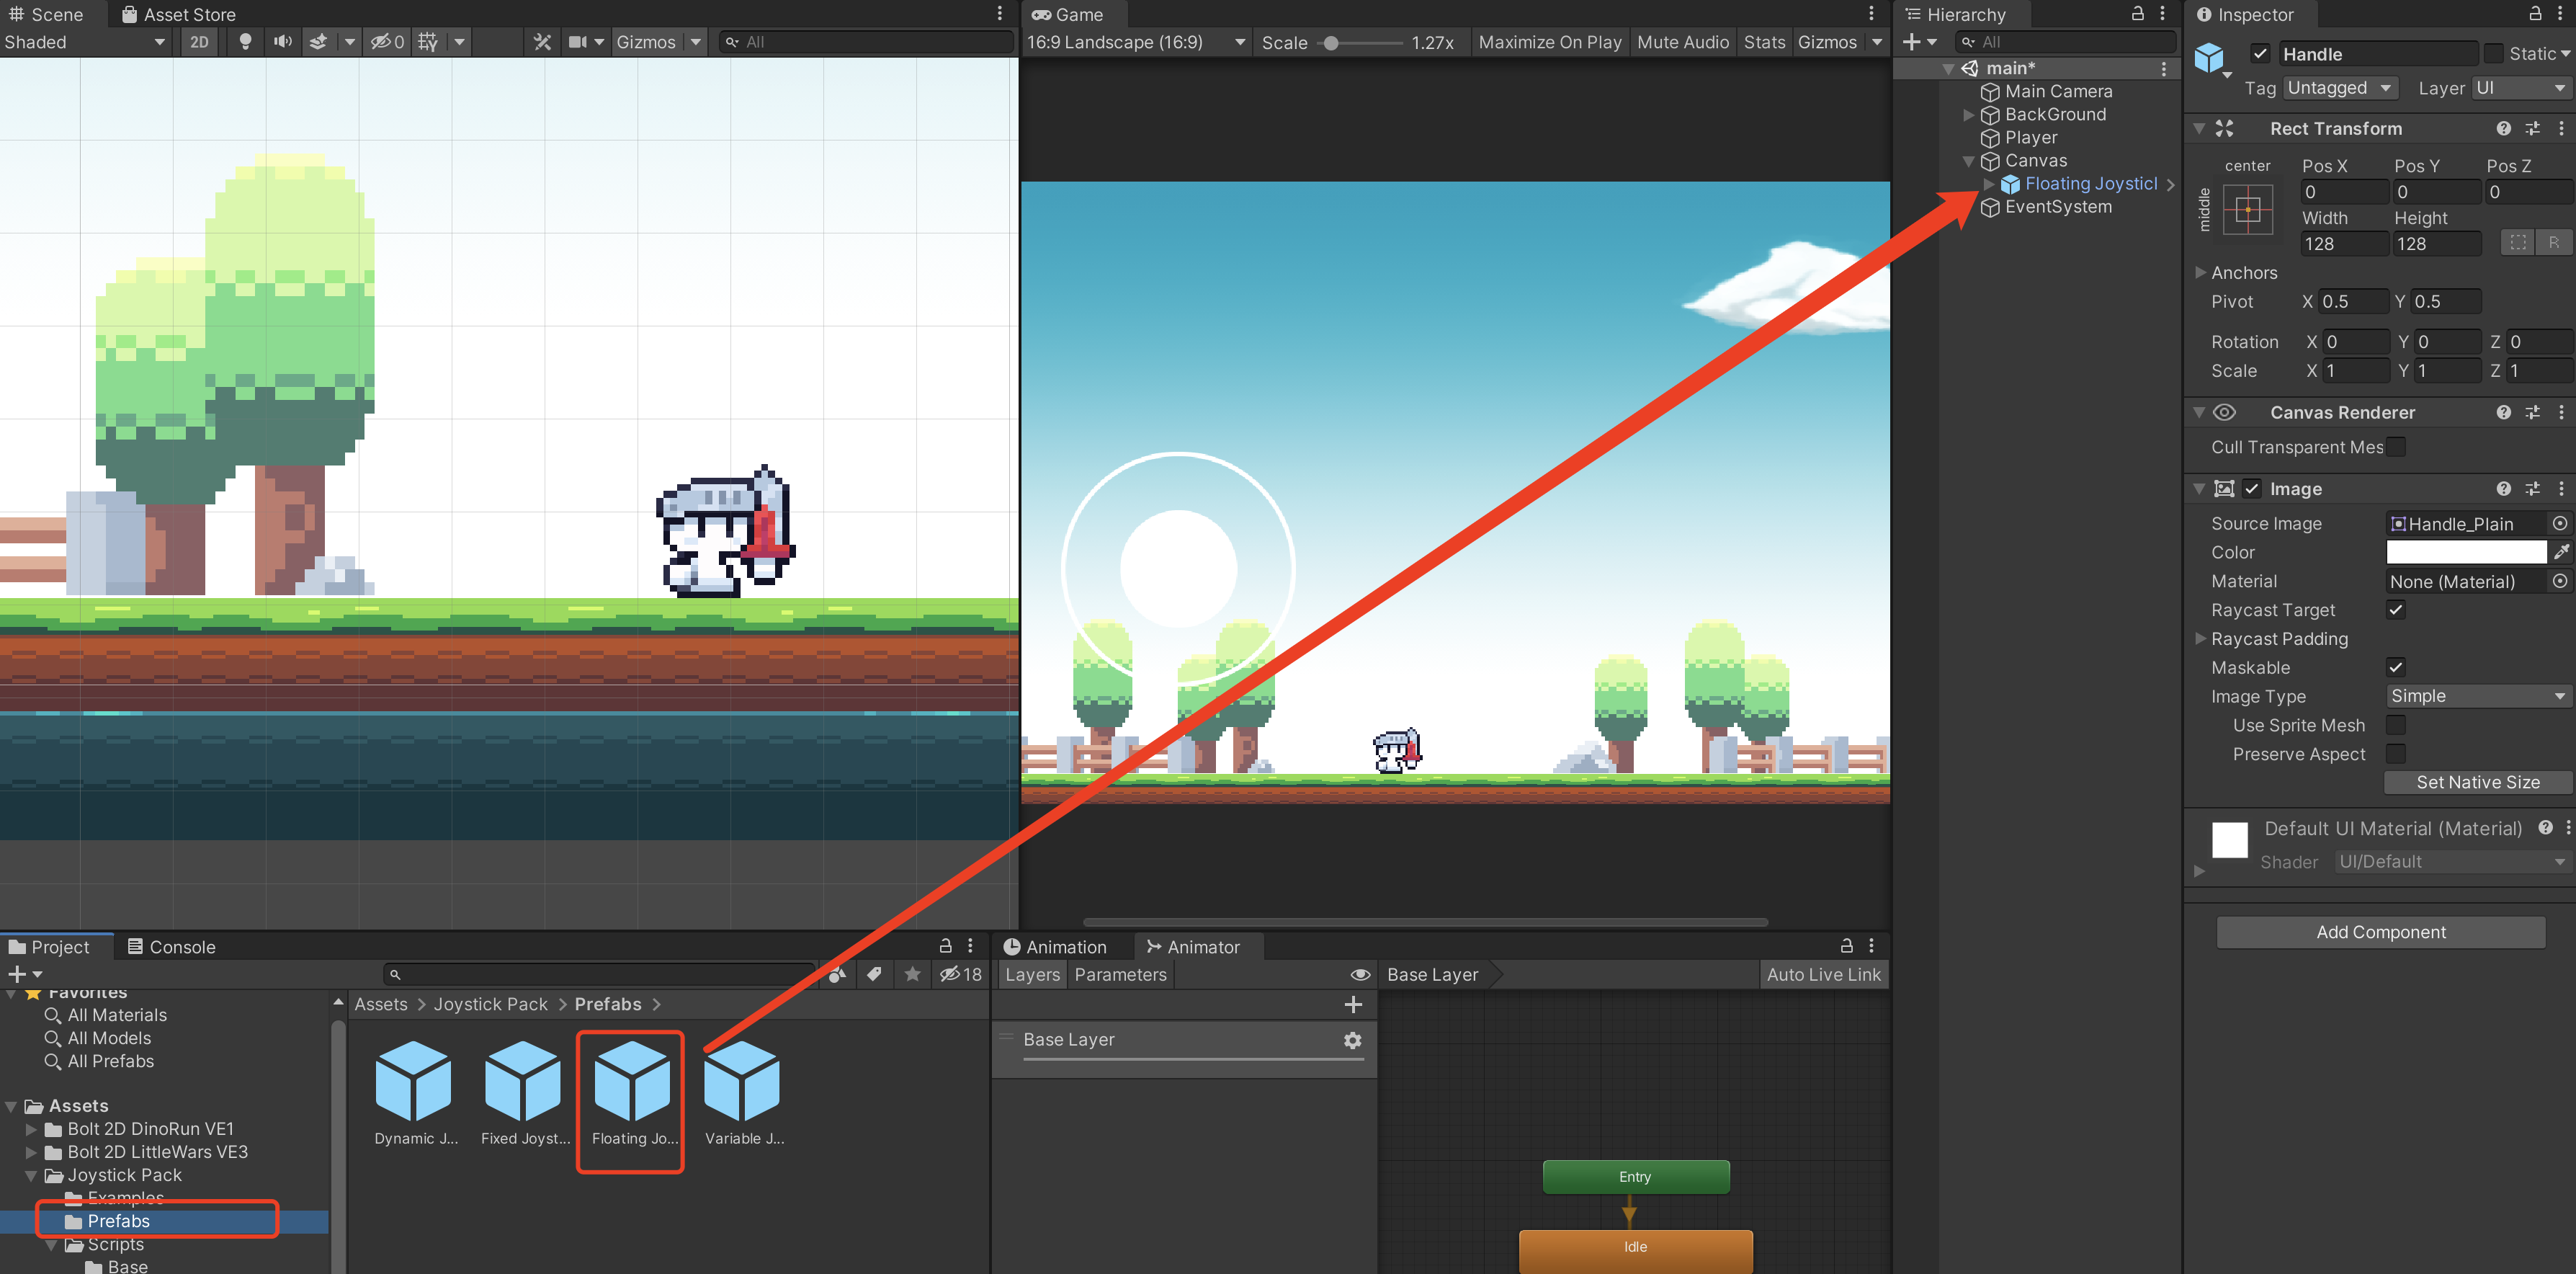
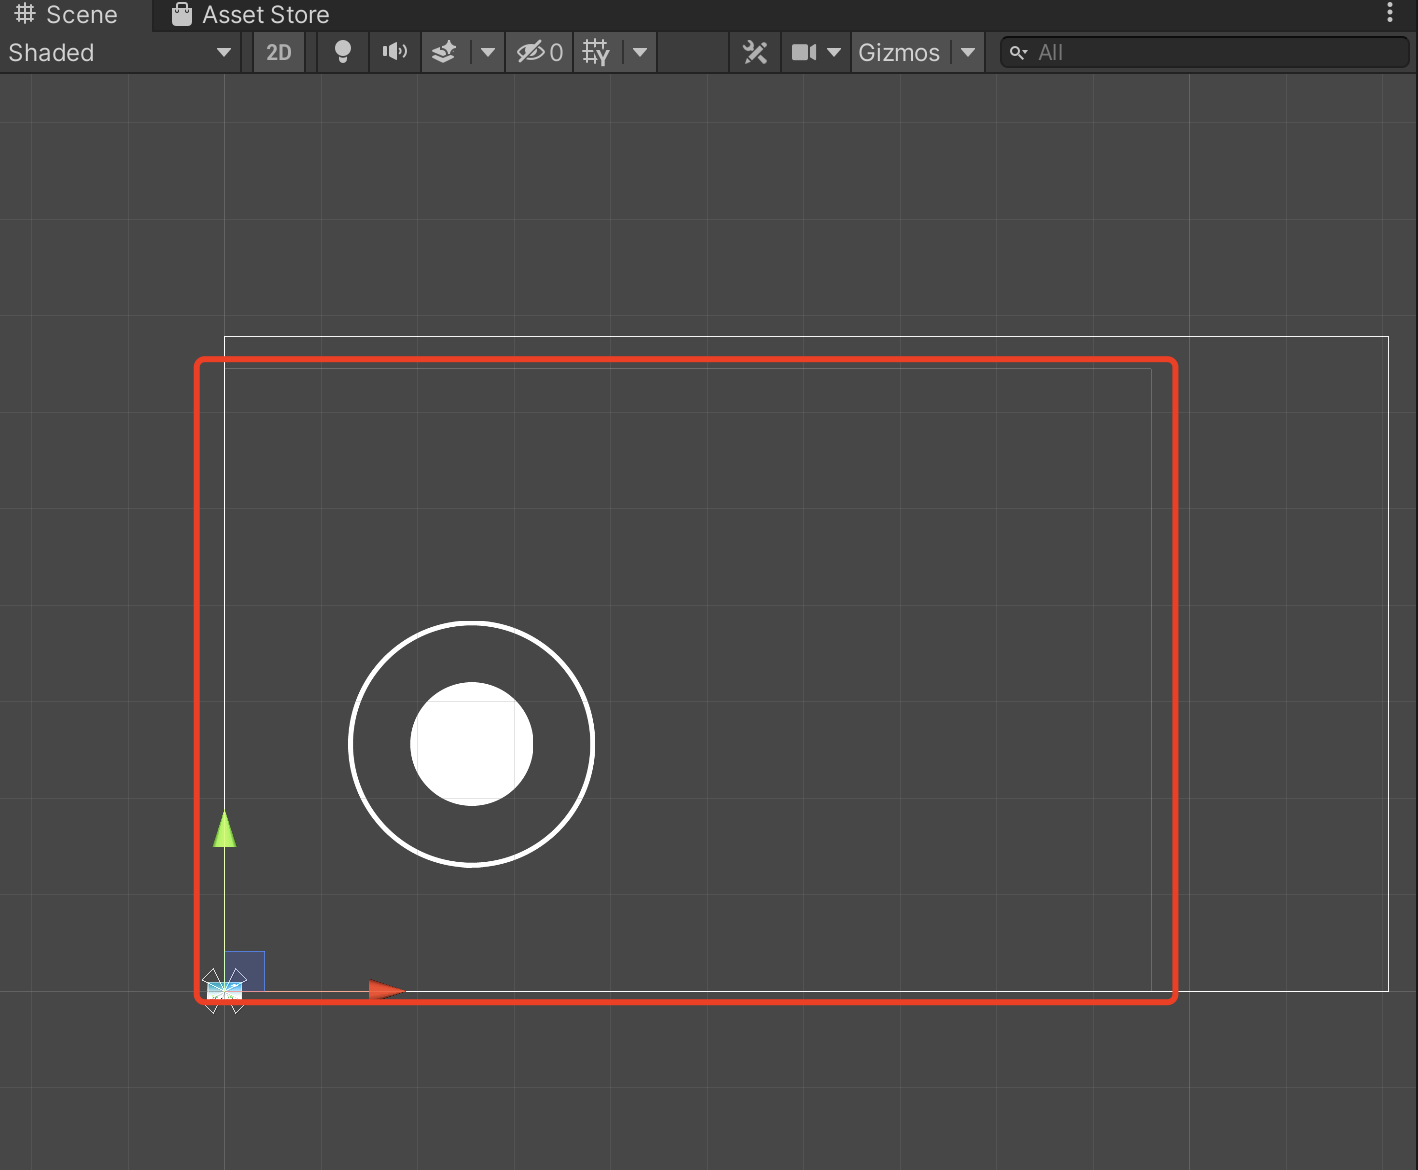
红框中区域即为遥控可控区域,我们改变一下大小,让他在我们的左侧:
之后就是我个人喜欢的一些列参数的配置:
| 组件 | key | value | 说明 |
|---|---|---|---|
| Floating Joystick | width | 660 | 顶层范围控制 |
| height | 600 | ||
| Handle Range | 0.5 | 中间小圆(Handle)可移动范围 | |
| Background | width | 128 | 外层边框大小 |
| height | 128 | ||
| Handle | width | 70 | 中间小圆大小 |
| height | 70 |
最终的配置及效果图如下:
3、精灵控制
我们首先创建如下脚本,之后把对应的脚本拖入到相应的组件中,现在我们需要把这个C#脚本拖入到我们的Player上面:
创建移动脚本:PlayerMove.cs
using System.Collections;
using System.Collections.Generic;
using UnityEngine;

public class PlayerMove : MonoBehaviour
{
    public Rigidbody2D playerRb;
    public float forceX;
    public float forceY;

    public Joystick joystick;

    public float moveSpeed;
    private float xVelocity;
    // Start is called before the first frame update
    void Start()
    {
        playerRb = GetComponent<Rigidbody2D>();
    }

    void Update()
    {
        Movement();

    }

    void Movement()
    {
        xVelocity = joystick.Horizontal;
        playerRb.velocity = new Vector2(xVelocity * moveSpeed,playerRb.velocity.y);

        if (xVelocity != 0)
        {
            transform.localScale = new Vector3(xVelocity,1,1);
        }

        // 防止scale状态不为1,显示翻转的效果
        if (transform.localScale.x > 0)
        {
            transform.localScale = new Vector3(1,1,1);
        }

        if (transform.localScale.x < 0)
        {
            transform.localScale = new Vector3(-1,1,1);
        }

    }
}
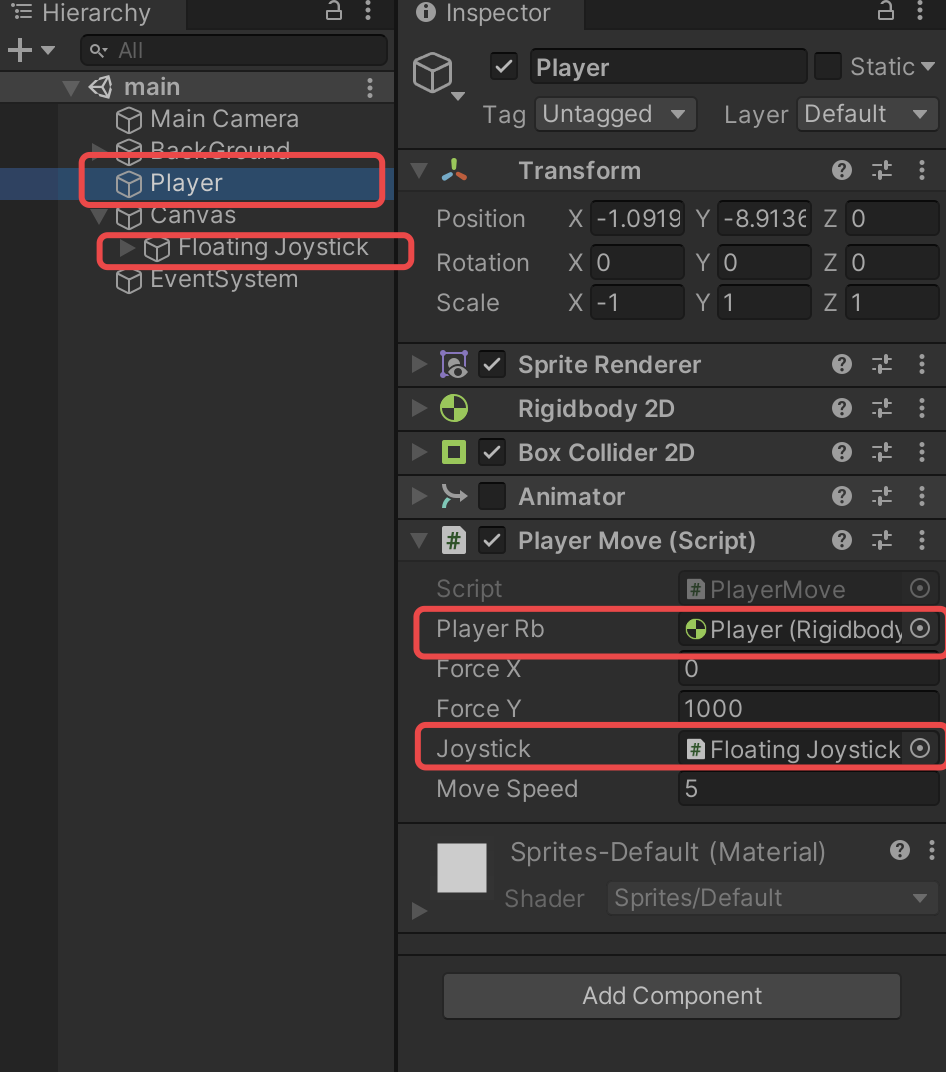
我们把player和floating joystick 拖入到C#脚本暴露的变量中,然后设置移动速度为5,这里主要我们这里先把animator不进行勾选
此时,我们的player精灵就可以移动了,效果如下: